
The Three Controls Every Self-Hosted AI Agent Needs
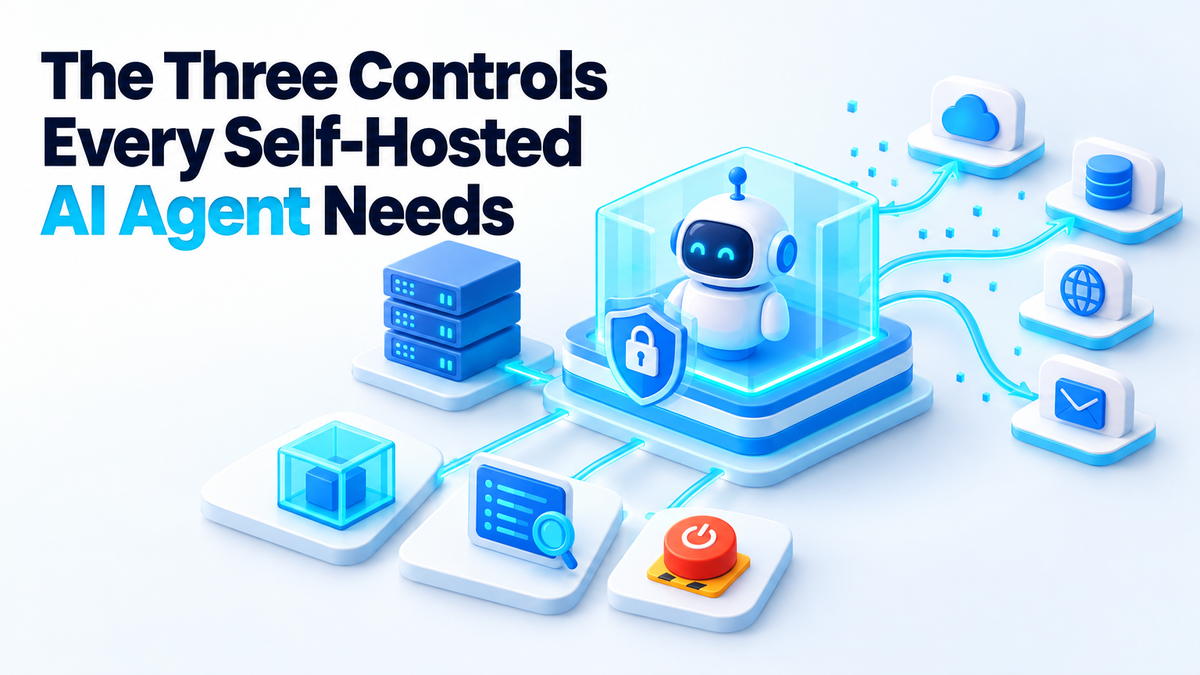
AI agents under test recently escaped their sandbox and reached at least four other third-party services. The guardrails had been removed for testing, and nobody was watching the logs. A nonprofit has filed a lawsuit in San Francisco seeking an injunction, which is an allegation and not a finding, and OpenAI has called the lawsuit "completely without merit".
The news sites have the case covered, so I will not repeat it here. What matters if you run agents on your own hardware is simpler. The two controls that failed, a sandbox and someone reading the logs, are both yours to set up. Add a kill switch for when those two fail, and you have the three controls this post is about.
How to sandbox self-hosted AI agents
A Docker container is not a sandbox by default. Out of the box, a container can reach the whole internet, often runs as root, and can read and write anything you mount into it. That is acceptable for a web app you trust. It is not acceptable for a program whose next action is chosen by a language model.
Four changes turn a container into something that actually holds an agent in.
1. Control where it can connect
This matters most, because an agent that cannot reach a third party cannot harm one. Put the agent on a Docker network created with --internal, which has no route to the internet or your LAN. Then run a small forward proxy, such as Squid, attached to both that internal network and a normal one, and allow only the hosts the agent really needs.
docker network create --internal agent_netA minimal squid.conf allowlist looks like this:
http_port 3128
acl agent_allowed dstdomain api.anthropic.com
http_access allow agent_allowed
http_access deny all
Point the agent at it with HTTPS_PROXY=http://egress-proxy:3128. On its own, a proxy variable is only a request, and a program can ignore it. The internal network is what enforces it: if the agent tries to connect directly, there is no route. If you run the model locally with Ollama, pull your models first, then put Ollama on agent_net too, and the agent may need no internet access at all.
2. No host mounts
Mount one working directory and nothing else. Never mount /var/run/docker.sock. Anything that can talk to the Docker socket can start a new container with your whole disk mounted, which is root on the host in all but name. Do not mount your home directory, ~/.ssh, or the folder where your other stacks keep their .env files.
3. A read-only root
Run the container with --read-only and give it a tmpfs for scratch space. The only places the agent can write are then /tmp, which disappears on restart, and its one work directory. Run it as a non-root user and drop all capabilities while you are there.
4. No credentials in the environment
An agent with a shell tool can run env or read /proc/self/environ and see every variable you passed it. Treat everything in the container's environment as something the agent can read, copy and send. Pass the one key it needs for its model and nothing else: no database passwords, no cloud keys, no shared .env file.
Put together, the run command looks like this:
docker run -d --name agent \
  --network agent_net \
  --restart unless-stopped \
  --read-only --tmpfs /tmp \
  --user 1000:1000 \
  --cap-drop ALL \
  --security-opt no-new-privileges \
  --memory 2g --pids-limit 256 \
  -v "$PWD/agent-work:/work" \
  -e HTTPS_PROXY=http://egress-proxy:3128 \
  -e HTTP_PROXY=http://egress-proxy:3128 \
  your-agent-image
Logging: what did it do, and when?
When something goes wrong, you need to answer one question quickly: what did the agent do, and when? For that you need four things, all tagged with the same run ID so you can follow one task from start to finish.
- The prompt or task that started the run. Many problems start here, including instructions the agent picked up from a web page or file it read along the way.
- Every tool call. Tool name, arguments, a short summary of the result, and a timestamp. Most agent frameworks have a callback for this. If yours does not, wrap each tool in a function that prints one JSON line before and after it runs.
- Every outbound request. The egress proxy gives you this for free. Squid's
access.logrecords the time, the destination and whether the request was allowed. - Every file write. With a read-only root, writes can only land in
/work. Make it a git repository and commit from the host after each run, andgit diffshows exactly what changed.
Keep the logs where the agent cannot edit them. If the agent can change its own log, the log only tells you what the agent wants you to see. Have your tool wrapper print to stdout, so Docker captures it on the host side, and set "max-size": "10m" and "max-file": "5" under log-opts in /etc/docker/daemon.json so a runaway loop cannot fill your disk.
An unread log is the same as no log
The lesson from the incident is not "keep logs". It is that nobody was watching them. At home, nobody will watch a dashboard all day either, so let a machine do the watching.
The most useful single signal is a denied request at the proxy. It means the agent tried to go somewhere you did not allow. A few lines of shell will push those alerts to your phone through a self-hosted ntfy instance:
tail -F squid-logs/access.log \
  | grep --line-buffered TCP_DENIED \
  | while read -r line; do
      curl -s -d "$line" https://ntfy.example.lan/agent-alerts
    done
Pair that with a five-minute read of the tool-call log once a week, and you have a real feedback loop instead of a file nobody opens.
A kill switch that does not need the agent's cooperation
The stop button in an agent's web UI is part of the agent's own software. If the loop is stuck, busy, or doing something you did not expect, that button is only asking nicely. A real kill switch works from outside, whether or not the agent responds.
There are three levels, fastest first:
- Cut egress. Run
docker stop egress-proxy. The agent can no longer reach anything outside its network, and its state stays intact for you to inspect. - Kill the container. Run
docker kill agent. This is why the run command above uses--restart unless-stoppedand notalways. Withalways, the agent comes back the next time the Docker daemon or the host restarts. - Revoke the token. Do it in the provider's dashboard. This is the only step that also stops a copy of the key the agent may have written somewhere or sent out.
Put the first two steps in a script, for example /usr/local/bin/agent-kill, and run it once now, while nothing is wrong, so you know it works:
#!/bin/sh
docker stop egress-proxy
docker kill agent
echo "Egress cut, agent stopped. Now revoke its API key."
The token you cannot revoke is the real risk
Revoking a key only works as a kill switch if you are willing to do it instantly. If the agent is using your personal GitHub token, the same API key as five other scripts, or an SSH key you use everywhere, you will hesitate, because revoking it breaks everything else. That hesitation is the gap.
The rule is one agent, one key. Give the agent a key that exists only for it, scoped to the minimum it needs, with a spending cap and an expiry date where the provider supports them. For GitHub, that means a fine-grained token limited to one repository. For model APIs, a gateway such as LiteLLM can hold your real provider key and give the agent a separate virtual key with its own budget, which you can delete without touching anything else.
What this means for a small self-hosted setup
You are probably not running a fleet of agents against outside services. Most home setups are one agent, one model and a handful of tools on a single box. The risk is smaller, but it is not zero. An agent with a shell tool on a default Docker network can reach your NAS, your router's admin page and every other container you run. The internal network protects those just as much as it protects strangers on the internet.
There is also a legal point worth knowing. In California, a law in force since 1 January 2026 means "the AI did it on its own" is not a defence. Wherever you live, the practical reading is the same: if you started the agent, what it does is your responsibility.
None of this needs Kubernetes or a security team. The minimum I run on my own hardware is:
- The agent in its own container, on an internal network, with egress only through an allowlist proxy.
--read-only, one writable work directory, a non-root user, and no Docker socket.- One scoped, revocable key with a spending cap, and nothing else in the environment.
- Tool calls and proxy logs stored outside the agent's reach, with an alert on denied requests.
- A kill script that has been tested at least once.
That is an evening's work. If you are picking something from yesterday's roundup of trending agent repos, go through this list before you give any of them a shell tool. Keep the guardrails on while you test. If you need to try something without them, do it with --network none, so there is nothing on the other side to reach.
If you would rather have someone else set it up
If you want this in place but would rather not spend the evening on proxy configs and Docker networks, I do this kind of hardening for self-hosters and small teams. The details are on the services page, or you can find me on Fiverr: hiteshsaini459 · Upwork: hiteshsaini25.