
NGINX Reverse Proxy Setup Guide for Self-Hosted Apps
Three weeks ago a client on Fiverr messaged me at almost midnight IST, panicking because his team's Nextcloud uploads kept failing. He had followed an old blog post, installed nginx, pointed it at his app, and called it done. One missing line cost him two days of confused Slack messages. I fixed it in four minutes.
I am Hitesh Saini, a DevOps freelancer based in India with a 5.0 rating on Fiverr as a Level 2 seller. I am somewhere past 30 client setups now, mostly Nextcloud, Jitsi, and Matrix, and nearly every one of them sits behind an NGINX reverse proxy. It is the one piece of infrastructure I install on almost every VPS I touch, right after the firewall rules.
This guide is the walkthrough I hand to new clients. It covers what a reverse proxy does, how to set one up on a bare Ubuntu VPS, and the three mistakes I keep fixing in other people's setups.
What is an NGINX reverse proxy?
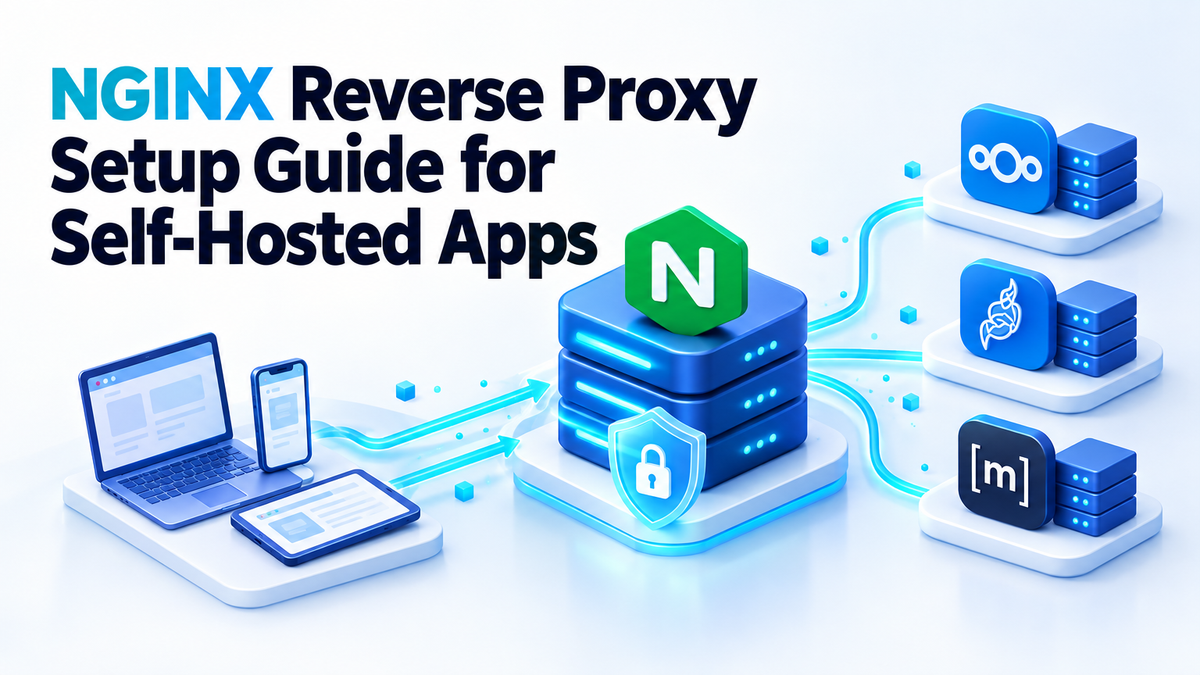
An NGINX reverse proxy is a single server that sits in front of your web apps, accepts all incoming traffic on ports 80 and 443, and forwards each request to the right internal app based on the domain or path, while handling TLS encryption in one central place.
Here is the setup I build most often for clients: a VPS from Contabo or Hetzner at around ₹500 a month, running three apps. Nextcloud on port 8080, a chat tool on 8081, a dashboard on 8082. Without a reverse proxy you juggle three ports and can only put proper SSL on one app at a time. With NGINX in front, you point cloud.example.com, chat.example.com, and status.example.com at the same server IP, and it quietly routes each subdomain to the right port. Visitors never see 8080 or 8081, just a clean HTTPS address.
Before you start: what you need
- A VPS running Ubuntu or Debian, 1 GB RAM is enough to start, though I prefer 2 GB when running more than two apps.
- A domain name with subdomains (A records) pointed at your server's IP address.
- Ports 80 and 443 open and reachable from the internet, not blocked by your VPS provider's firewall.
If you run one app on your home LAN that only you reach over Jio or Airtel, you may not need any of this. A reverse proxy earns its keep when you have multiple apps, want real domain names, or need proper HTTPS. For a single home app behind your router, plain port forwarding is fine. New to self-hosting? Start with my explainer on what is self-hosting.
Step 1: Install NGINX
On a fresh Ubuntu or Debian box:
sudo apt update
sudo apt install nginx -y
sudo systemctl enable nginx
sudo systemctl status nginx
Check the version with nginx -v. As of late 2026 the stable line is 1.30.x, and 1.30.4 (July 2026) patched three real vulnerabilities: a buffer overflow in the map module's regex handling, a memory disclosure in the slice module, and a use-after-free in the SSI module. Mainline is at 1.31.5. Stick to your distro package or the official nginx.org repo, and never sit on a two-year-old version because it "still works."
Step 2: Create your first proxy host (server block)
Create a config file for your app:
sudo nano /etc/nginx/sites-available/cloud.example.comPaste this in, swapping in your own domain and port:
server {
    listen 80;
    server_name cloud.example.com;

    location / {
        proxy_pass http://127.0.0.1:8080;
        proxy_set_header Host $host;
        proxy_set_header X-Real-IP $remote_addr;
        proxy_set_header X-Forwarded-For $proxy_add_x_forwarded_for;
        proxy_set_header X-Forwarded-Proto $scheme;
    }
}
Plain-English rundown: Host tells the backend what domain the visitor typed. X-Real-IP passes the visitor's real IP instead of NGINX's own. X-Forwarded-For keeps the IP chain when there are multiple proxies. X-Forwarded-Proto tells the app whether the original request was http or https — that one matters a lot in step 4.
Now enable it and reload:
sudo ln -s /etc/nginx/sites-available/cloud.example.com /etc/nginx/sites-enabled/
sudo nginx -t
sudo systemctl reload nginx
nginx -t checks the config for syntax errors before you reload, so a typo never takes the server down. Always run it first. No exceptions.
Step 3: Add free HTTPS with Let's Encrypt
Install certbot and let it handle everything:
sudo apt install certbot python3-certbot-nginx -y
sudo certbot --nginx -d cloud.example.com
Let's Encrypt certificates are free and valid for 90 days. The certbot nginx plugin edits your config and adds an HTTPS block automatically. It also installs a systemd timer that checks twice a day and renews any certificate within about 30 days of expiry, so you never touch this again. Test it once with:
sudo certbot renew --dry-runOne trap from old tutorials: since nginx 1.25.1, you no longer write listen 443 ssl http2; on one line. HTTP/2 needs its own directive, http2 on;, inside the server block. Certbot handles this on current versions; if you hand-edit config from a five-year-old guide, this is why it errors.
Step 4: Fix the three problems that always show up
- Uploads fail over roughly 1 MB, browser shows a 413 error. This is the exact problem my client hit at midnight. NGINX's default
client_max_body_sizeis only 1 MB. For Nextcloud, addclient_max_body_size 10G;inside the server block, then reload. Nextcloud's docs suggest 10G as a safe ceiling.
Jitsi, Matrix, or a live chat widget keeps disconnecting or never connects. WebSocket connections need special handling or they get dropped, often after about 60 seconds idle. Add this map block near the top of nginx.conf, outside any server block:
map $http_upgrade $connection_upgrade {
    default upgrade;
    '' close;
}
Then inside your location block for the app:
proxy_http_version 1.1;
proxy_set_header Upgrade $http_upgrade;
proxy_set_header Connection $connection_upgrade;
proxy_read_timeout 3600s;
That timeout matters more than people expect. Without it, Matrix's long-polling and Jitsi's signaling channel will just quietly die mid-call.
App keeps redirecting to http, or every user in the logs shows the same IP (your proxy's IP). This happens when the app never learns that the original request was https, or who the real visitor was. Keep the four proxy_set_header lines from step 2, then tell the app to trust the proxy. In Nextcloud's config.php:
'trusted_proxies' => ['127.0.0.1'],Raw NGINX vs Nginx Proxy Manager vs Caddy
| Tool | Setup effort | SSL automation | Control | Best for |
|---|---|---|---|---|
| Raw NGINX | Moderate, text configs | Manual via certbot | Full, every directive available | Anyone running multiple apps or websockets long term |
| Nginx Proxy Manager | Low, web UI | Built-in, point and click | Limited to what the UI exposes | Clients who want to add their own sites later |
| Caddy | Very low, config as code | Fully automatic | Good, but smaller community than NGINX | Small personal projects, quick setups |
My honest take after 30-plus setups: learn raw NGINX properly at least once, because almost every tutorial, forum answer, and piece of documentation assumes you use it. For clients who are not technical and want to add sites themselves after handover, I put Nginx Proxy Manager in front instead. It is still NGINX underneath, just with training wheels.
Is NGINX still the right choice in 2026?
Yes, and it is not close. NGINX powers around 33.3% of all websites (W3Techs, January 2026), ahead of Cloudflare Server at roughly 25.8% and Apache at 24.4%. Its event-driven design also handles concurrent connections well on modest hardware: I run 8 apps behind one NGINX instance on a 2 GB VPS, handling thousands of concurrent connections easily. Just leave worker_processes auto; so it uses every CPU core.
FAQ
Do I really need a reverse proxy for one self-hosted app?
Not strictly. A single app on your home network with no domain name? A reverse proxy is complexity you do not need yet. Add a second app, or want a real domain with HTTPS, and it becomes worth it.
Nginx Proxy Manager or plain NGINX for a beginner?
Comfortable editing text files and want to understand what is happening? Start with plain NGINX using this guide. Want it working today and plan to add sites from a browser later? Nginx Proxy Manager gets you there faster.
How often do Let's Encrypt certificates renew?
Certificates last 90 days. Certbot's systemd timer renews them once you are within about 30 days of expiry, so you do nothing manually. Run the dry-run test once to confirm.
That is the setup I run on nearly every client server. New to containers? My Docker for beginners guide covers the mistakes people usually hit right before they reach this NGINX step.
Related reading: A Hosted AI Is a Channel Someone Else Can Read and Switch Off and Shop for Local AI Hardware by Memory, Not by the Price Tag and Three months to find out: owning your AI agent incidents.
How to set up an NGINX reverse proxy: the short checklist
This is the order I re-check when a proxy on a fresh VPS does not work.
- A record pointing at the server's IP.
- NGINX installed, welcome page loading.
- Server block with
server_nameandproxy_pass(Step 2). - HTTPS via certbot (Step 3).
- Upload, websocket and forwarded-header fixes (Step 4).
These commands check the chain from DNS to HTTPS:
dig +short app.example.com
sudo nginx -T | grep server_name
curl -I https://app.example.com
Expect your server's IP, your domain, then your app's status line.
502 Bad Gateway and 504 Gateway Timeout: what each one means
| Error | What NGINX means | Check first |
|---|---|---|
| 502 Bad Gateway | "I got no usable answer from the app." | Is the app running on the exact address and port in proxy_pass? |
| 504 Gateway Timeout | "I reached the app, but it timed out." | The app's logs: a slow query, stuck job or crash. |
NGINX logs the reason. This shows recent upstream errors:
sudo grep upstream /var/log/nginx/error.log | tail -n 20The usual 502 line, then the usual 504 line:
connect() failed (111: Connection refused) while connecting to upstream, upstream: "http://[::1]:8080/"
upstream timed out (110: Connection timed out) while reading response header from upstream
The localhost trap that causes most 502s
On Debian and Ubuntu, localhost can resolve to IPv6 ::1 first. If your app only listens on 127.0.0.1:8080, proxy_pass http://localhost:8080 gets refused with that [::1] error.
Check where the app listens:
sudo ss -lntp | grep 8080Seeing 127.0.0.1:8080 and not [::1]:8080 means you have found the problem. The simplest fix is proxy_pass http://127.0.0.1:8080;. Or make the app listen on both addresses.
504s are usually the app being slow, not NGINX
NGINX's three proxy timeouts, proxy_connect_timeout, proxy_send_timeout and proxy_read_timeout, each default to 60 seconds. Set them per location:
location / {
    proxy_pass http://127.0.0.1:8080;
    proxy_connect_timeout 10s;
    proxy_send_timeout 120s;
    proxy_read_timeout 120s;
}
Raising the read timeout only hides a slow backend. Check the app first and raise it only where needed, such as large exports.
Per the 1.30.0 release announcement, NGINX now proxies with HTTP/1.1 and keep-alive by default, so the old proxy_http_version 1.1 line matters less for websockets. The Upgrade and Connection headers still make them work.
SSL and Let's Encrypt: three checks after certbot finishes
- Run
sudo certbot certificates. It shows each certificate's expiry date and its renewal config path. - Check what the server really serves, not what certbot says it installed:
echo | openssl s_client -connect app.example.com:443 -servername app.example.com 2>/dev/null | openssl x509 -noout -dates - Keep port 80 open, because renewal uses the HTTP-01 challenge. Confirm it with
sudo ufw status, then test withsudo certbot renew --dry-run. Behind Cloudflare, set the SSL mode to Full (strict). Other modes can cause a redirect loop or a 522 error.
Keeping this NGINX reverse proxy setup current
As of 14 October 2026, stable is 1.30.6 and mainline is 1.31.7. The 14 October releases fixed five security issues: buffer overflows in alias with rewrite and in string expressions with variables, an HTTP/3 request body injection, a session forgery flaw in TLS ticket key rotation, and an SSI use-after-free with AIO.
To update:
sudo apt update && sudo apt upgrade
sudo nginx -t
sudo systemctl reload nginx
nginx -v
If your apps run in containers, my Docker networking guide covers which port the proxy should point to. For your own hardware, my Proxmox beginner's guide shows how to run this stack in a VM or LXC container.